Concert photography presents a unique blend of technical challenge and artistic opportunity. Unlike studio or landscape work, photographers operate under highly dynamic, often unpredictable conditions: extremely low and rapidly changing light, fast-moving subjects, and restricted access. Capturing compelling images in this environment demands not just a capable camera, but a thorough understanding of exposure, focus, and composition, coupled with strategic planning and an ability to adapt quickly. This guide outlines practical strategies for navigating these complexities, enabling photographers to consistently produce high-impact concert imagery that resonates with audiences and artists alike.
Essential Gear for Concert Photography
Success in concert photography begins with selecting the right equipment, prioritizing performance in low-light conditions and operational reliability. The core setup revolves around a camera body designed for high ISO performance and fast lenses that gather ample light.
Camera Body Selection
A full-frame DSLR or mirrorless camera is generally preferred due to its larger sensor, which excels at managing noise at higher ISO sensitivities. This capability is critical for maintaining image quality in dimly lit venues without resorting to flash, which is often prohibited. Look for models with robust autofocus systems that can track subjects accurately in challenging light, as well as a high continuous shooting rate to capture peak action moments.
Lens Arsenal for Dynamic Performance
Lenses are arguably more critical than the camera body in concert photography. Fast prime lenses (e.g., 50mm f/1.4, 85mm f/1.8, 35mm f/1.4) offer the widest apertures, allowing maximum light collection and producing a shallow depth of field that isolates performers from busy backgrounds. Their fixed focal length often results in superior sharpness. Complementing primes, fast zoom lenses (e.g., 24-70mm f/2.8, 70-200mm f/2.8) provide versatility, enabling photographers to cover a wide range of stage perspectives without needing to change lenses frequently, which can be impractical in a crowded photo pit. The constant f/2.8 aperture across the zoom range ensures consistent light gathering and depth of field control.
Crucial Accessories
- Extra Batteries: Concerts are long, and cameras consume power rapidly, especially with continuous shooting and live view. Always carry at least two fully charged spares.
- High-Speed Memory Cards: Fast write speeds (UHS-II or V60/V90) are essential for sustained burst shooting, preventing buffer slowdowns and ensuring no key moments are missed.
- Comfortable Camera Strap: A sturdy, ergonomic strap reduces fatigue during long shoots and keeps your gear secure in dynamic environments.
- Earplugs: Protecting your hearing is non-negotiable. Quality earplugs allow you to focus without discomfort from loud volumes.
- Lens Cloth and Blower: Dust and smudges are inevitable. Quick cleaning ensures sharp images.
Mastering Low-Light Camera Settings
Operating in manual mode is fundamental for concert photography, providing complete control over exposure variables to adapt to the unpredictable stage lighting. Understanding the interplay between ISO, aperture, and shutter speed is paramount.
Balancing the Exposure Triangle
The exposure triangle—ISO, aperture, and shutter speed—must be carefully balanced. Begin by setting your aperture as wide as possible (e.g., f/1.4 to f/2.8) to maximize light intake and create subject separation. Shutter speed should be fast enough to freeze motion, typically ranging from 1/125s to 1/500s depending on the performer's activity. A general starting point is 1/250s. Finally, adjust ISO to achieve correct exposure, pushing it as high as necessary (e.g., ISO 3200 to 6400 or even higher) while monitoring for acceptable noise levels. Modern cameras handle high ISOs remarkably well, making noise reduction in post-processing more effective.
Autofocus and White Balance Strategies
For autofocus, utilize continuous autofocus (AI Servo on Canon, AF-C on Nikon/Sony) combined with a single-point or zone AF mode. This allows precise tracking of moving subjects. Focus on the performer's eyes or face for sharp results. White balance can be tricky due to dynamic stage lighting. Setting it to Auto White Balance (AWB) is often a practical choice, as it provides a good starting point that can be fine-tuned in post-processing. Alternatively, selecting a preset like Tungsten or Fluorescent might offer more consistent results if the lighting scheme is relatively static, but AWB offers flexibility.
Pro Tip: When shooting in extremely low light, consider enabling your camera's high ISO noise reduction settings to 'low' or 'normal' to help manage digital noise directly in-camera. However, shoot in RAW format to retain maximum data for more precise noise reduction and color correction during post-processing, offering greater flexibility than JPEG.
Composition and Framing for Impact
Beyond technical settings, compelling concert photography relies on strong composition that captures the energy and emotion of the performance.
Capturing Dynamic Moments
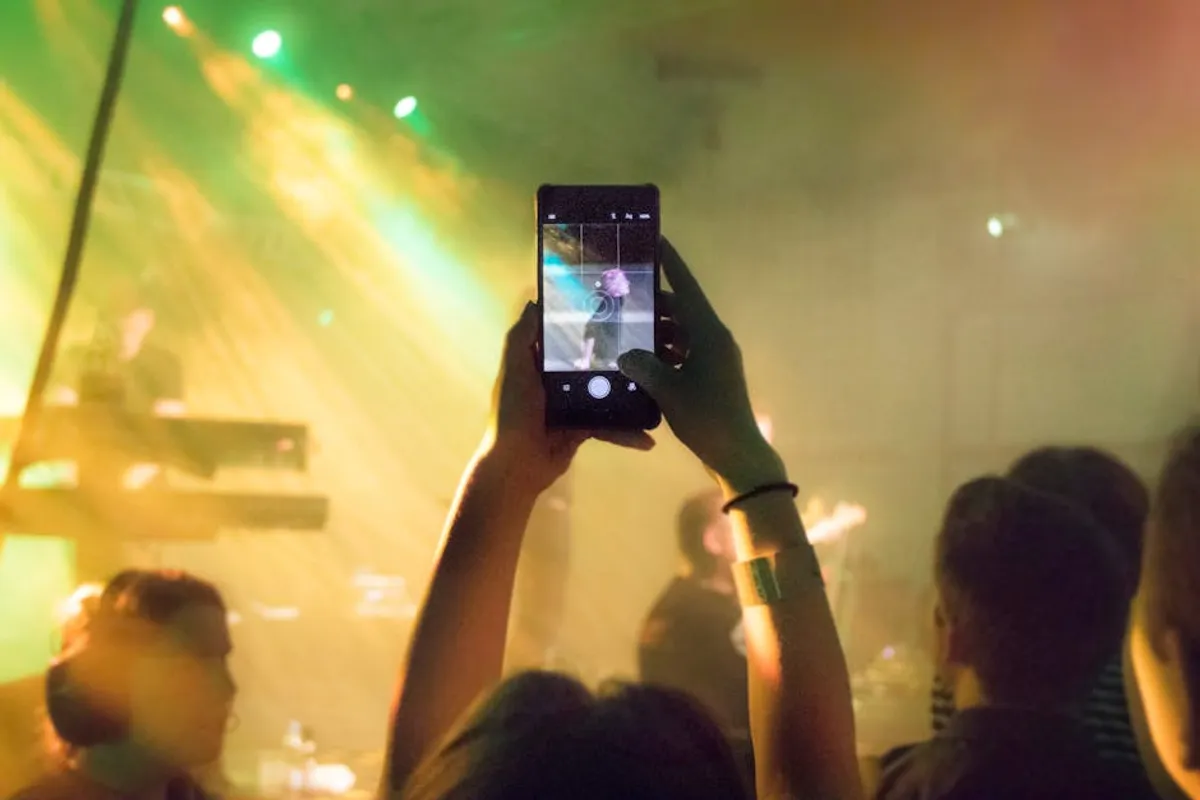
Look for peak action: a guitarist mid-solo, a vocalist reaching for a high note, or a drummer's intense focus. Use the rule of thirds to place subjects off-center, creating more dynamic and visually interesting frames. Experiment with different angles; shooting slightly from below can make performers appear more powerful, while capturing their interaction with the crowd adds context and atmosphere. Don't solely focus on tight headshots; wide shots that include the stage setup, lighting, and audience can tell a broader story.
Navigating Venue Access and Etiquette
Access and understanding venue rules are critical, often determining the success of a concert shoot.
Securing Photo Credentials
Most professional concert photography requires media accreditation. This typically involves contacting the band's public relations representative, the venue's marketing team, or the tour manager well in advance of the show. Clearly state your publication or portfolio, and demonstrate your previous work. Persistence and a professional demeanor are key.
Photo Pit Protocol and Restrictions
If granted access to the photo pit (the area between the stage and the audience), adhere strictly to the "three-song rule," which limits photographers to the first three songs of the main act, often without flash. Be mindful of other photographers; avoid blocking views, and move efficiently. Respect security personnel and their instructions. Flash photography is almost universally prohibited in the photo pit due to its disruptive nature to both performers and audience.
Post-Processing for Professional Results
Editing is where raw captures transform into polished, high-impact images. This stage is crucial for refining exposure, color, and detail.
Essential Editing Workflow
Start with global adjustments: correct exposure, fine-tune white balance (especially important with varied stage lighting), and adjust contrast to add punch. Sharpening should be applied judiciously to enhance detail without introducing artifacts, particularly in areas like eyes and instruments. Noise reduction is often necessary for high-ISO images; balance its application to preserve detail. Cropping can improve composition, removing distracting elements and focusing attention on the subject. Consider converting some images to black and white, which can enhance mood and timelessness, especially when color lighting is overly complex or distracting.
Building Your Portfolio and Networking
Consistent, high-quality work forms the foundation of a strong portfolio, which is essential for securing future opportunities. Actively seek out local bands and smaller venues to gain experience and build your body of work. Offer to shoot for free initially to demonstrate your capabilities and build relationships. Network with other photographers, venue staff, and band members; referrals and word-of-mouth are powerful tools in this niche. Share your best work on professional platforms and social media, tagging artists and venues to increase visibility.
Elevating Your Concert Photography
Concert photography is a demanding discipline that rewards technical proficiency, artistic vision, and logistical preparedness. By investing in appropriate gear, mastering low-light camera settings, and understanding the nuances of composition and venue access, photographers can consistently capture the raw energy and emotion of live performances. The continuous refinement of post-processing techniques and proactive networking efforts will further solidify a photographer's standing in this competitive field, transforming a passion into a professional pursuit.
Frequently Asked Questions
What are the most important camera settings for concert photography?
Prioritize manual mode, a wide aperture (f/1.4-f/2.8), a shutter speed fast enough to freeze motion (1/125s to 1/500s), and adjust ISO to achieve proper exposure, often pushing it to 3200-6400 or higher. Use continuous autofocus for tracking.
Is flash allowed during concerts?
Generally, no. Flash photography is almost universally prohibited in concert venues, especially in photo pits, as it can be distracting to performers and audience members. Rely on your camera's high ISO capabilities and fast lenses instead.
How do I get access to photograph concerts professionally?
You typically need media accreditation. Contact the band's public relations representative, the venue's marketing team, or the tour manager several weeks in advance. Provide a link to your portfolio and specify the publication or platform you represent.
What lenses are best for concert photography?
Fast prime lenses (e.g., 50mm f/1.4, 85mm f/1.8, 35mm f/1.4) are excellent for low light and subject isolation. Versatile fast zoom lenses like a 24-70mm f/2.8 and a 70-200mm f/2.8 are also highly recommended for their flexibility and consistent aperture.